Introduction
AWS Elastic Load Balancer helps to manage and control the flow of inbound requests destined to a group of targets by distributing these requests evenly across the targeted resource group. These targets could be a group of EC2 Instances, Containers, Lambda functions or a range of IP addresses.
Depending on the traffic distribution there are different types of ELBs available within AWS including Application Load Balancer, Network Load Balancer, Gateway Load Balancer, and Classic Load Balancer.
In this article we will focus on Network Load Balancer. Network Load Balancers are used for ultra high performance while at the same time maintaining very low latencies. It operates at the connection level, routing traffic to targets within your VPC. It is capable of handling millions of requests per second. The Network Load Balancer works at layer 4 of the OSI model, which is the Transport layer, enabling you to balance requests purely based on TCP and UDP protocols.
Creating a Network Load Balancer on AWS
Following are the steps to create a Network Load Balancer on AWS:
-
Login to AWS account by the link https://aws.amazon.com
-
Navigate to EC2 Console.
-
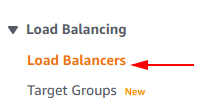
On the Left side panel select Load balancers
-
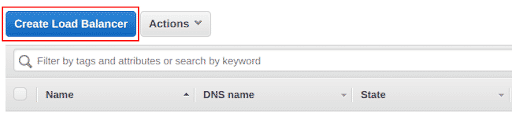
Once the Load Balancer console opens select Create Load Balancer
-
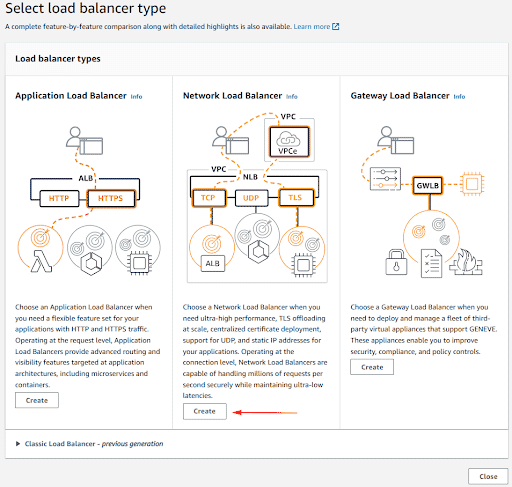
Select the load balancer type as Network Load Balancer and click on **Create **button
-
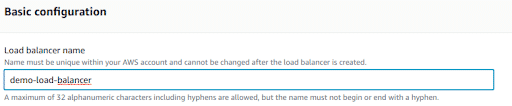
Enter the name you want to give to the Load balancer under the Basic Configuration section
-
Select the **Scheme as required. **When you create a load balancer, you have to choose whether to make it an internal load balancer or an internet-facing load balancer. In internet-facing load balancer nodes have public IP addresses. In internal load balancer nodes have only private IP addresses.

-
Select the IP Address type
Choose IPv4 if your clients use IPv4 addresses to communicate with the load balancer, or choose Dualstack if your clients use both IPv4 and IPv6 addresses to communicate with the load balancer.

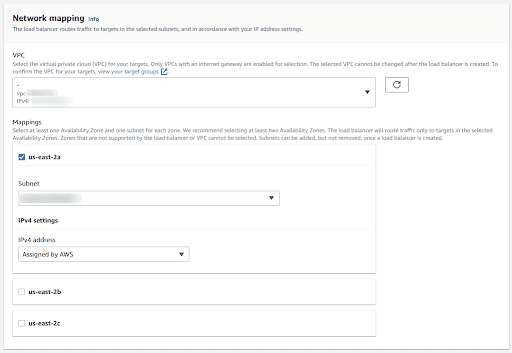
-
For Network Mapping select the VPC and enable at least one Availability Zone, to increase the fault tolerance. Also select the subnet for each zone.
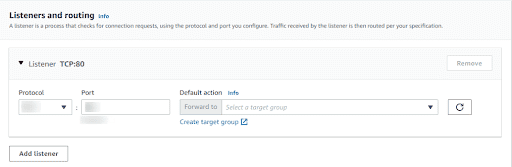
-
In the Listeners and routing section configure the protocol and port. Traffic received by the listener is then routed per your specification. You can specify multiple rules and multiple certificates per listener after the load balancer is created.
-
Add Tags to your Load Balancer. Though this is a good practice, but this is optional

-
Once done with the configuration of the Load Balancer, check the Summary section and go through all the details you have provided. Then select Create Load Balancer and the load balancer will be created successfully.
Conclusion
This article is a quick walkthrough of how you can create a Network Load Balancer on AWS. It serves as a step by step guide for those who are looking to get started with AWS Network Load Balancers.
You can also check out How to create Application Load Balancer on AWS as covered in our last academy article.

Riyaz Walikar
Founder & Chief of R&D
Riyaz is the founder and Chief of R&D at Kloudle, where he hunts for cloud misconfigurations so developers don’t have to. With over 15 years of experience breaking into systems, he’s led offensive security at PwC and product security across APAC for Citrix. Riyaz created the Kubernetes security testing methodology at Appsecco, blending frameworks like MITRE ATT&CK, OWASP, and PTES. He’s passionate about teaching people how to hack—and how to stay secure.