Introduction
DNSSEC signing lets DNS resolvers validate that a DNS response has not been tampered with. When you enable DNSSEC signing, Route 53 automatically creates a key-signing key (KSK) for you, based on the customer-managed customer master key (CMK) in AWS Key Management Service (AWS KMS) that you choose. The KSK is a cryptographic public-private key pair that signs the DNSKEY. The process is completed by creating a Delegation Signer (DS) record for the parent zone of the zone. This creates the required chain of trust for the hosted zone.
Using DNSSEC increases trust between the user and the target AWS account. It ensures that the integrity of the DNS record has not been tampered with and users are receiving information from the correct source. In the absence of DNSSEC, some network applications may warn that the response is not cryptographically signed which could lower the trust that the user has with the application resulting in potential customer churn owing to compliance, regulatory requirements or based on the lowered trust with the system.
In this article we will take a look at how we can enable DNSSEC signing in Route53 using AWS CLI.
Note: Before you enable DNSSEC signing, make sure you read the pre-requisites and prepare for enabling DNSSEC signing to minimise the risk of zone outages.
Enable DNSSEC signing in Route53 using AWS CLI
Following are the steps to enable DNSSEC signing in Route53 using AWS CLI:
-
To list the hosted zones in your AWS account, run the following command
aws route53 list-hosted-zones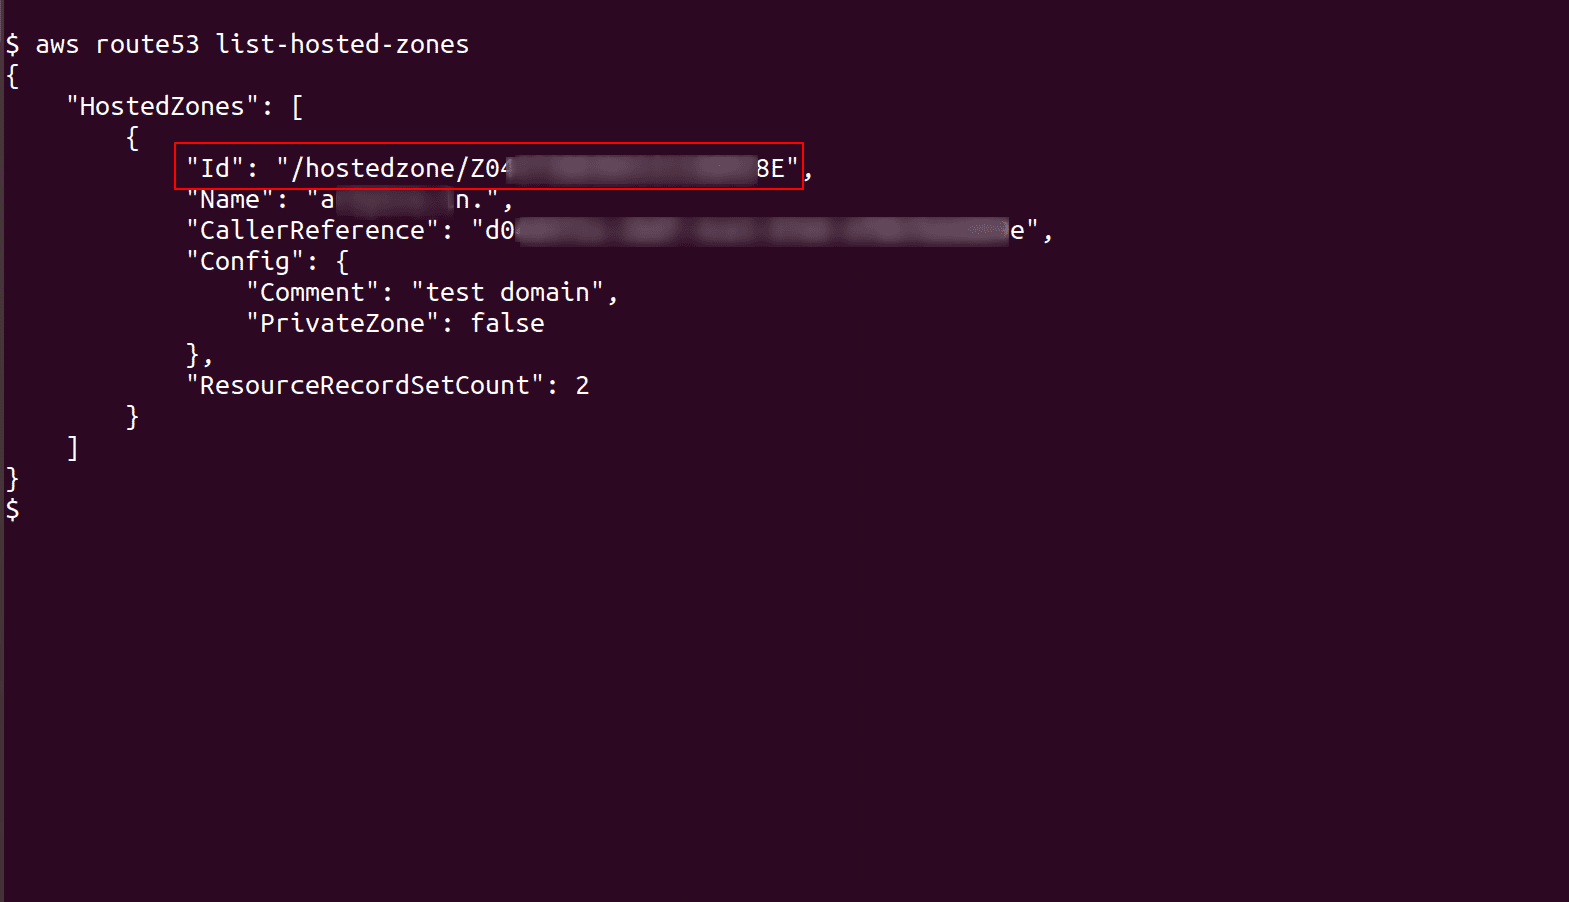
-
To check the DNSSEC signing status for a selected hosted zone, run following command
aws route53 get-dnssec --hosted-zone-id <hosted_zone_ID> --query "Status.ServeSignature"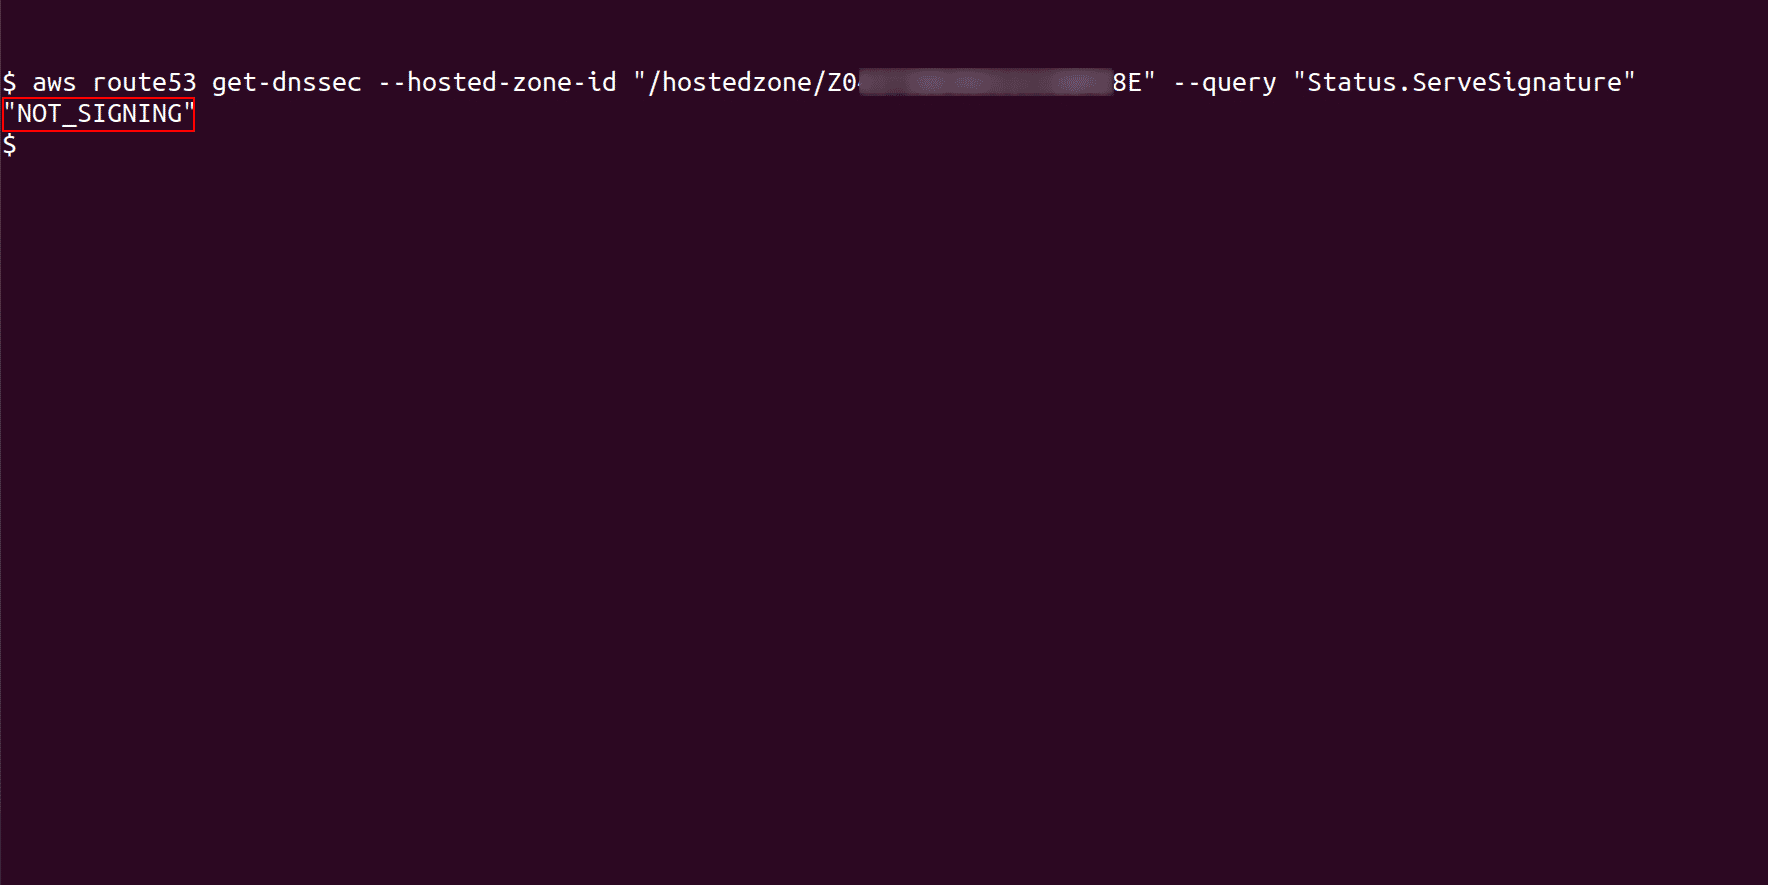
-
Create a new Key Signing Key (KSK) and associate it with the Amazon Route53 public hosted zone for which you want to enable DNSSEC signing. Before providing the ARN for customer-managed CMK in the key-management-service-arn parameter, make sure that you have created one that fulfills these requirements
aws route53 create-key-signing-key --region <region_name> --hosted-zone-id <hosted_zone_ID> --name <KSK_name> --status ACTIVE --key-management-service-arn <key_management_service_arn> --caller-reference <caller_reference>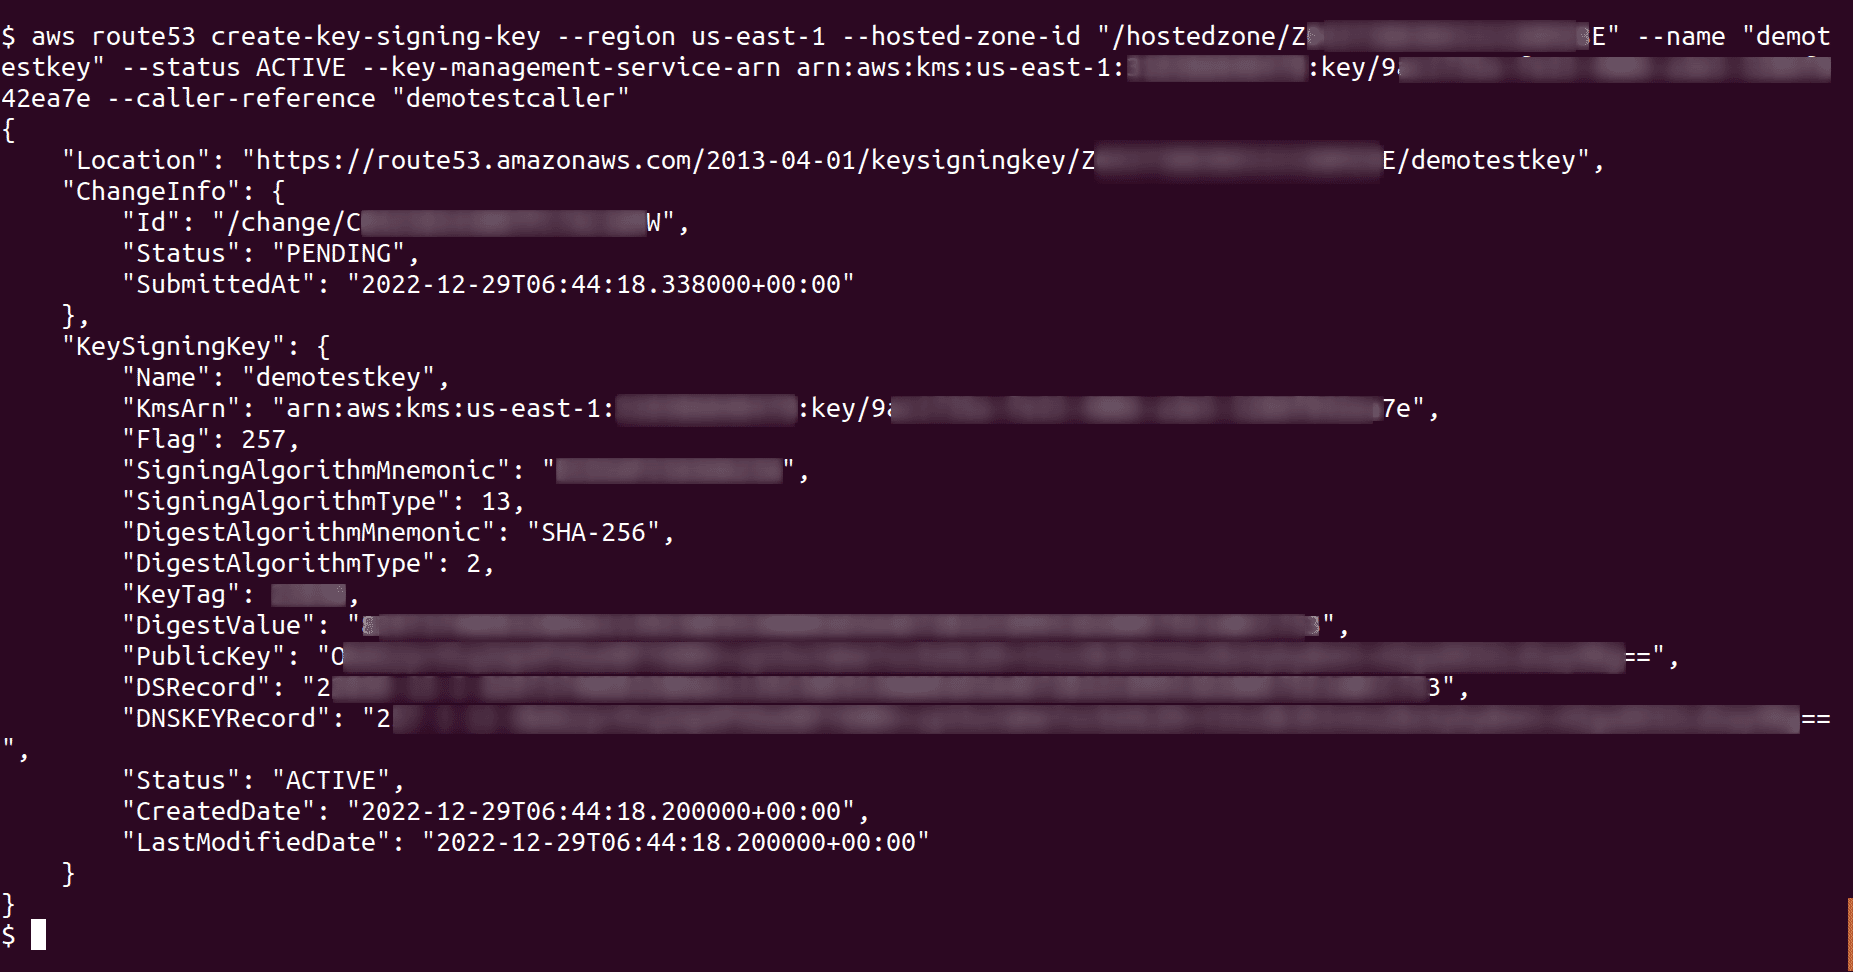
-
Enable DNSSEC signing for the selected public hosted zone by running the following command
aws route53 enable-hosted-zone-dnssec --region <region_name> --hosted-zone-id <hosted_zone_ID>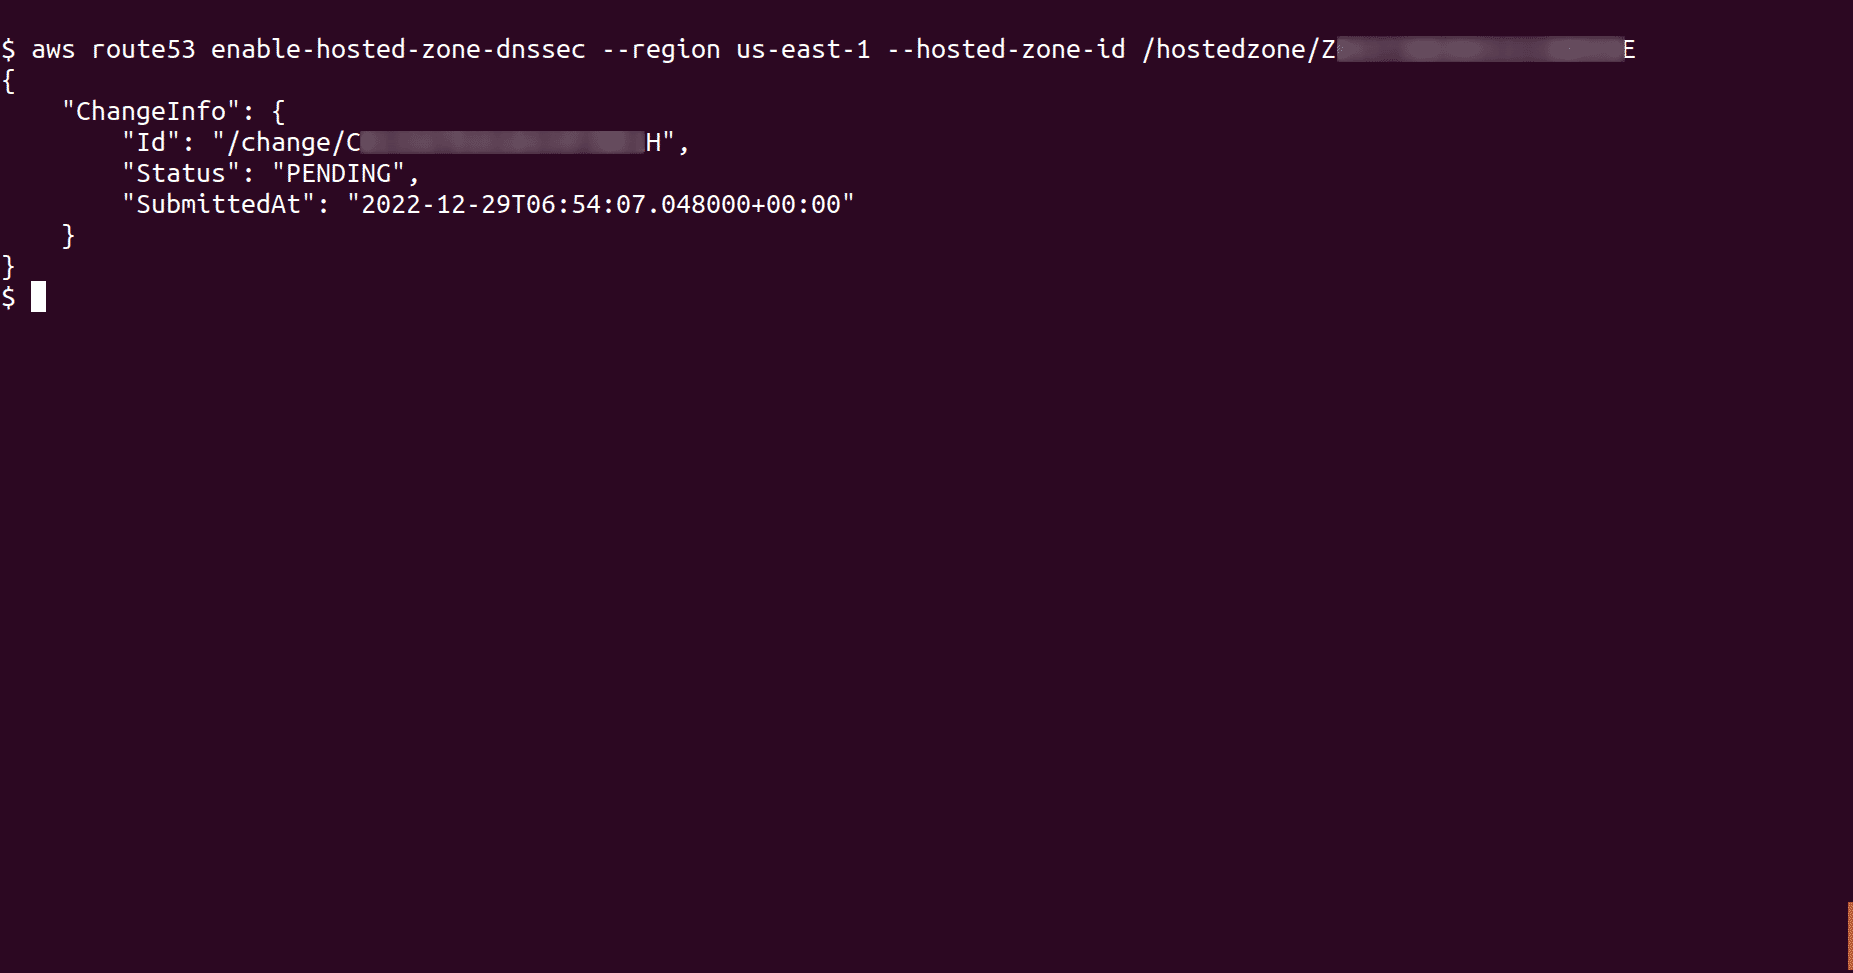
-
To check if the DNSSEC signing status updated for the selected hosted zone, run the command from step 2 again. We can see that the status has now updated to Signing which means that the DNSSEC signing has been enabled for the selected hosted zone
aws route53 get-dnssec --hosted-zone-id <hosted_zone_ID> --query "Status.ServeSignature"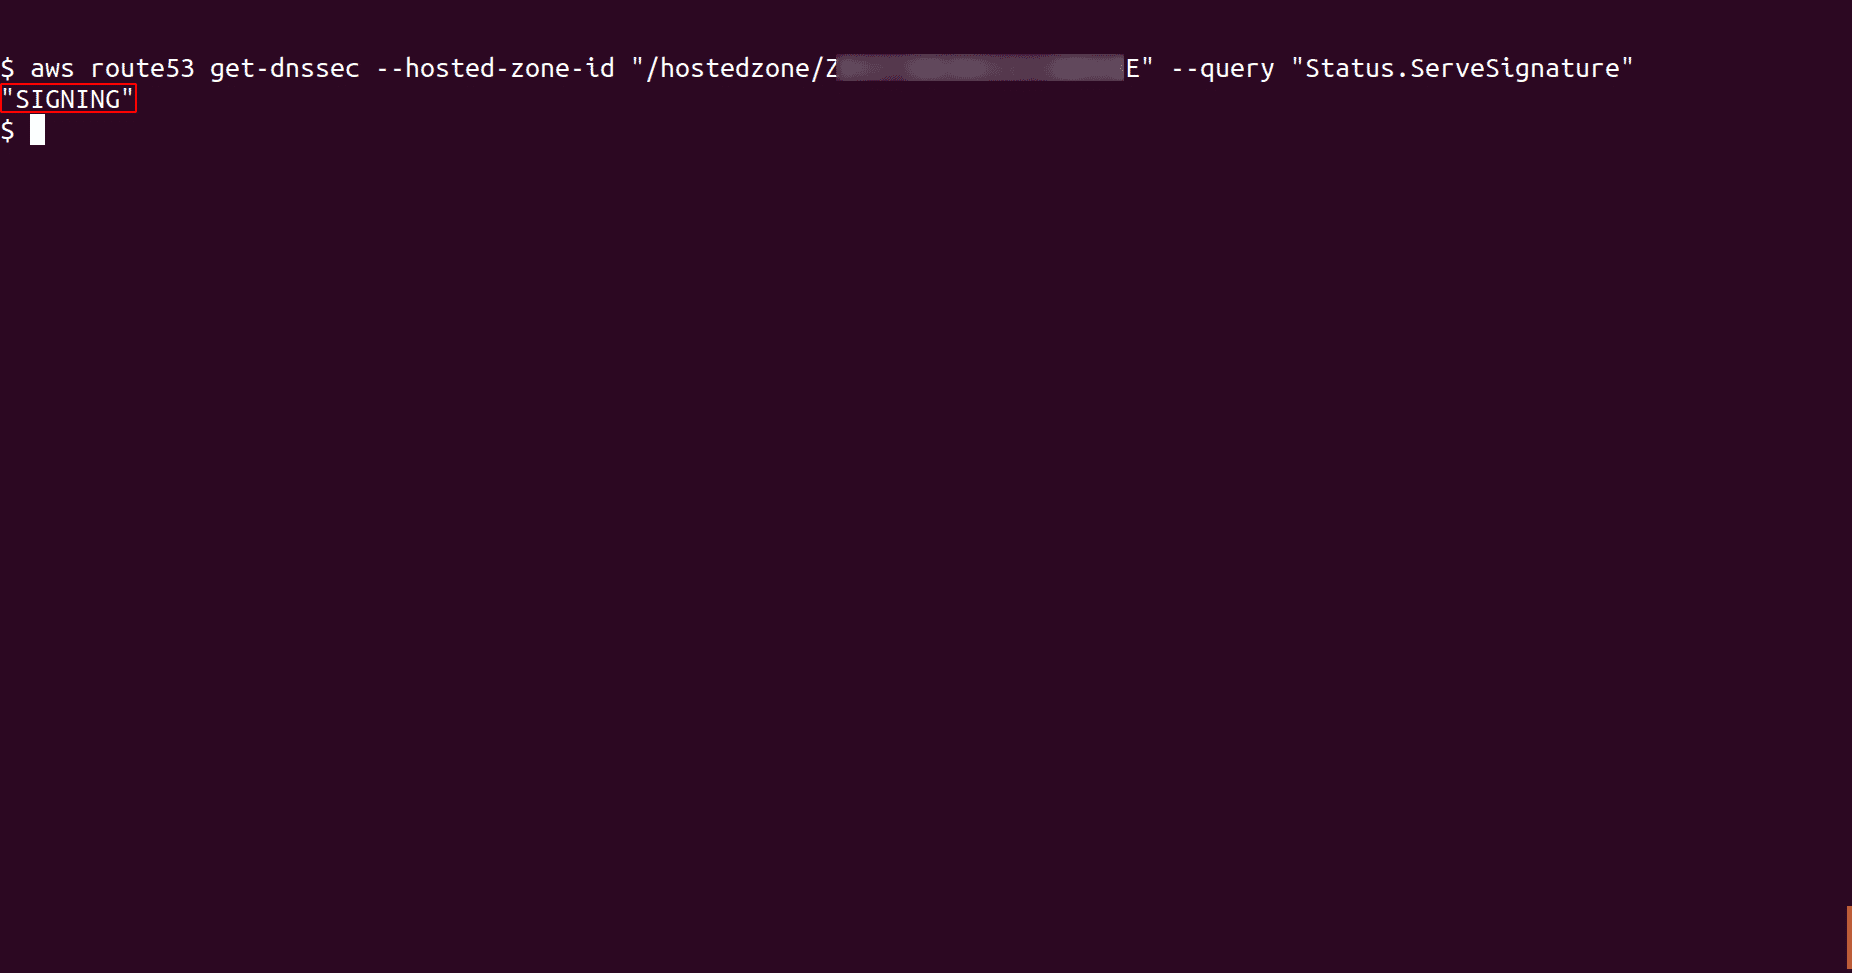
-
To complete the DNSSEC signing setup for the hosted zone, we need to establish a chain of trust. Login to your AWS account and navigate to the DNSSEC signing tab of the selected hosted zone on Route53 dashboard and click on View information to create DS record. Follow the instructions under Establish a chain of trust section to complete the DNSSEC signing setup for the hosted zone or follow this document from AWS for guidance on establishing a chain of trust

Riyaz Walikar
Founder & Chief of R&D
Riyaz is the founder and Chief of R&D at Kloudle, where he hunts for cloud misconfigurations so developers don’t have to. With over 15 years of experience breaking into systems, he’s led offensive security at PwC and product security across APAC for Citrix. Riyaz created the Kubernetes security testing methodology at Appsecco, blending frameworks like MITRE ATT&CK, OWASP, and PTES. He’s passionate about teaching people how to hack—and how to stay secure.