Introduction
In our academy article - AWS EBS vs S3 vs EFS, we introduced the three storage services provided by AWS. We have already covered S3 and EBS services in our last two academy articles and now let’s dive into AWS EFS in this one!
EFS (Amazon Elastic File System) is a file based storage service from AWS. EFS provides a simple, serverless, set-and-forget elastic file system. It is scalable so removing and adding files makes it grow and shrink automatically. Many instances whether on AWS or on-premise can be attached to EFS. It allows for persistent storage and secure sharing of data.
In this article we will not only cover how to set up an EFS, but we’ll also see how you can access EFS from instances in a different VPC.
Creating an EFS file system
-
Login to your AWS account ( https://aws.amazon.com/console/ )
-
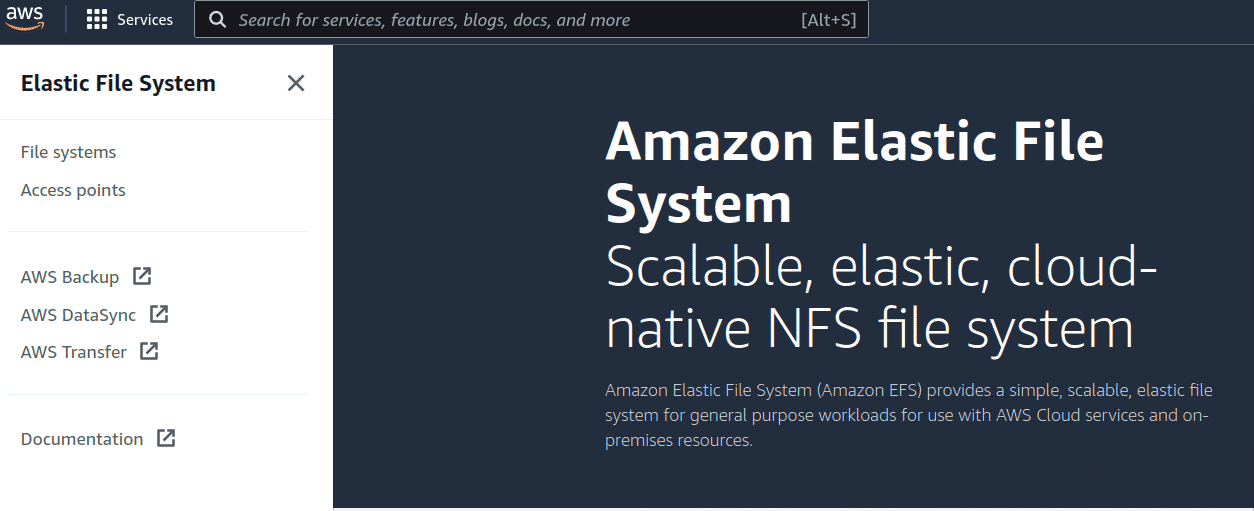
Open the Elastic File System console
-
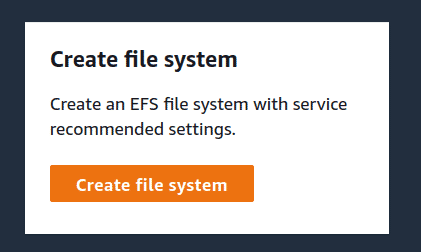
Once the Elastic File System console opens select “Create File System”
-
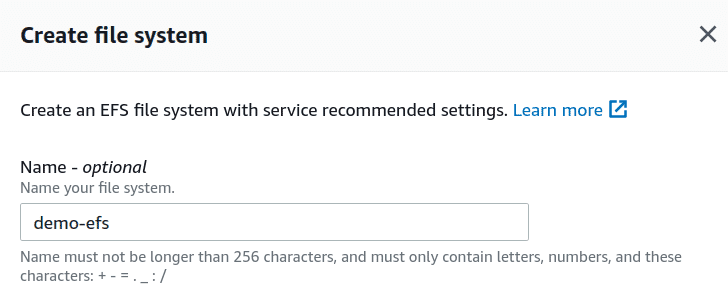
Create File System dialogue box opens. Give a name for your file system
-
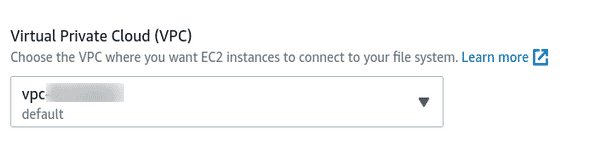
Select the VPC in which you want to create the EFS
-
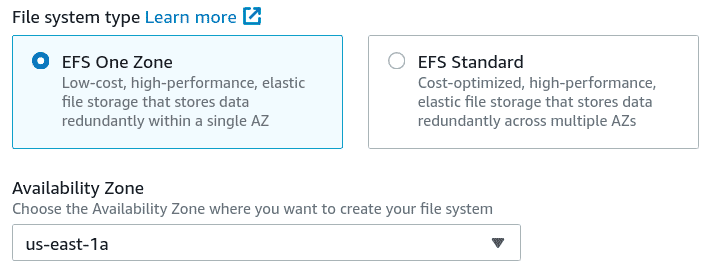
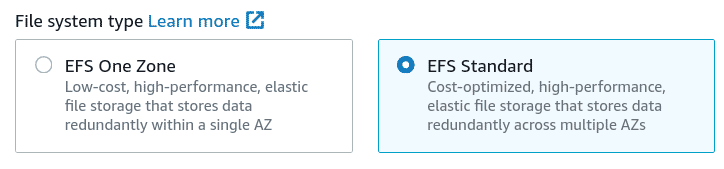
Select the type of storage class you want for your EFS
EFS One Zone: One Zone storage classes store file system data and metadata redundantly within a single Availability Zone which makes it less expensive than Standard storage classes. Also we have to select the Availability Zone in which to use the EFS.
EFS Standard: Standard storage classes store file system data and metadata redundantly across all Availability Zones within an AWS Regio
-
Click on “Create” and the EFS file system will be created successfully

Access EFS from a different VPC
In this section, we will create an EC2 instance with Ubuntu as the OS in a VPC that is different from where the EFS was created. We will use the EFS Mount helper which is part of the amazon-efs-utils set of tools.
-
Create an EC2 Instance in a VPC different from where we created EFS in the previous section
-
SSH into the EC2 instance created in the first step
-
Give appropriate EC2 and EFS permissions to the role attached to this EC2 Instance
-
Install amazon-efs-utils tool once you SSH into the EC2 instance. Follow the commands below for tool installation: ```bash sudo apt-get update
sudo apt-get -y install git binutils git clone [https://github.com/aws/efs-utils](https://github.com/aws/efs-utils) cd /path/efs-utils ./build-deb.sh sudo apt-get -y install ./build/amazon-efs-utils*deb ``` -
To be able to access EFS from a different VPC, we will need to create a VPC peering connection between the VPC in which EC2 Instance is created and the VPC in which EFS is created. You can follow the AWS documentation for VPC peering within the same account https://docs.aws.amazon.com/vpc/latest/peering/create-vpc-peering-connection.html#create-vpc-peering-connection-local
-
Now we need to determine the Availability Zone ID of the EC2 instance. After connecting to your instance from a local machine run the following command and we will get the ZoneId.
aws ec2 describe-availability-zones --zone-name `curl -s [http://169.254.169.254/latest/meta-data/placement/availability-zone](http://169.254.169.254/latest/meta-data/placement/availability-zone)` -
After this, run the below command to find the mount target IP address in the same Availability Zone ID
aws efs describe-mount-targets --file-system-id <file_system_id> -
From the output of above command, note the IpAddress and add a line for the mount target IP address to the EC2 instance’s /etc/hosts file using the below command:
echo "<mount-target-IP-Address> <file-system-ID>.efs.<region>.amazonaws.com" | sudo tee -a /etc/hosts -
Add rules to the VPC security groups for the EC2 instance and the EFS mount target to allow access to the EFS file system. You can refer to the following documentation: https://docs.aws.amazon.com/efs/latest/ug/network-access.html
-
Mounting the file system
-
Create a directory in your EC2 Instance using the following command:
sudo mkdir /mnt/efs/ -
Now mount the file system using IAM authorization
sudo mount -t efs -o tls,iam <file-system-id> /mnt/efs/After running the above command you will have successfully mounted the EFS file system and can access the data from it from an instance in a different VPC
This way you can create multiple instances in different VPCs and mount the EFS file system to those instances.
-
Conclusion
EFS provides persistent storage and is somewhat like the Network Attached Storage (NAS) that we use. This article provides a step-by-step walkthrough of how you can create an EFS file system. It also covers how you can access EFS from your EC2 instances in a different VPC.

Riyaz Walikar
Founder & Chief of R&D
Riyaz is the founder and Chief of R&D at Kloudle, where he hunts for cloud misconfigurations so developers don’t have to. With over 15 years of experience breaking into systems, he’s led offensive security at PwC and product security across APAC for Citrix. Riyaz created the Kubernetes security testing methodology at Appsecco, blending frameworks like MITRE ATT&CK, OWASP, and PTES. He’s passionate about teaching people how to hack—and how to stay secure.