Introduction
Steampipe is a Go open source project by Turbot released under the GNU Affero General Public License. The software allows you to add various cloud providers, retrieve information from them transparently and query the obtained cloud information using SQL queries locally.
This post covers various ways you can set up Steampipe to work with a cloud provider of your choice.
Why use Steampipe?
Steampipe is easy to set up and the configuration is well documented. Being open source, the community support provides integrations for various cloud providers including the most popular AWS, Google Cloud, Azure, Alibaba, IBM Cloud and then some more. Steampipe also has community mods that can be used to extend the functionality of the tool to add asset dashboards, compliance checks and resource utilization dashboards.
Steampipe heavily relies on users being able to perform queries for specific kinds of information and is as powerful as the queries being written. The dashboards provide a layer of transparency to this and allow the information to be visualised which can be used to identify asset information.
Steampipe and its Security usage
Due to its data collection features and the ability to query for specific information, Steampipe can be used to perform security posture evaluation of your cloud infrastructure. However, it is important to remember that Steampipe is not a security tool but a data aggregation software. Any security inferences about missing policies, user, cloud and resource misconfigurations, service privileges, RBAC, Internet exposure, transport security etc. all have to be deduced using custom queries that you need to write.
Setting up Steampipe
There are a couple of ways of setting up Steampipe.
Using the bash installer script
-
Navigate to https://steampipe.io/downloads and select your Operating system
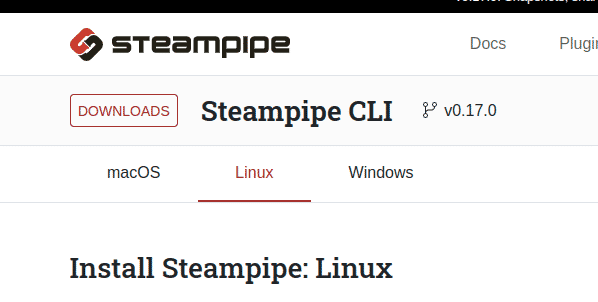
-
We will perform the installation on Ubuntu, so we choose “Linux” and proceed
-
Copy the command shown and paste it into your Linux shell. This command runs with sudo, so you will be prompted for your password
sudo /bin/sh -c "$(curl -fsSL https://raw.githubusercontent.com/turbot/steampipe/main/install.sh)"Note: It is a dangerous practice to copy and run commands directly from the Internet in your terminal, especially the ones that require sudo access. It is advisable to review the contents of install.sh to eliminate any concerns.
-
The script will install the binary to
/usr/local/bin/steampipeand it can be run from anywhere as it will be in PATH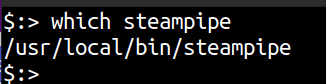
-
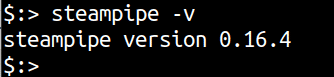
Run steampipe -v to ensure it is set up and running correctly
Using a release from GitHub
-
Navigate to https://github.com/turbot/steampipe/releases and expand Assets for the release version that you want to download. It is recommended to download a version that is tagged as “Latest” instead of “Pre-release”.
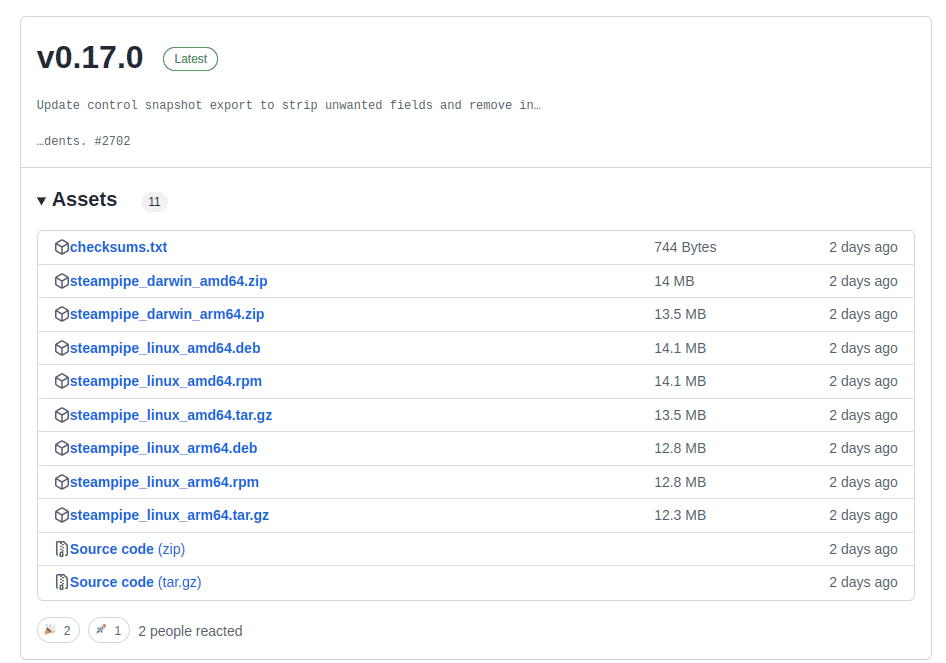
-
Download the correct zip, tar.gz, deb or rpm file for your OS.
-
If you have downloaded a zip or tar.gz then simply extract and move to a location that is in your $PATH.
-
If you have downloaded a deb or rpm file then install it with your operating system’s package manager. For example, on Ubuntu, a deb can be installed with the following command
sudo dpkg -i steampipe_linux_amd64.deb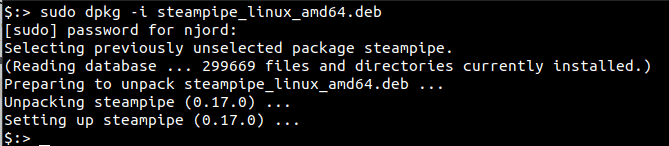
-
Run
steampipe -vto ensure it is set up and running correctly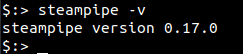

Riyaz Walikar
Founder & Chief of R&D
Riyaz is the founder and Chief of R&D at Kloudle, where he hunts for cloud misconfigurations so developers don’t have to. With over 15 years of experience breaking into systems, he’s led offensive security at PwC and product security across APAC for Citrix. Riyaz created the Kubernetes security testing methodology at Appsecco, blending frameworks like MITRE ATT&CK, OWASP, and PTES. He’s passionate about teaching people how to hack—and how to stay secure.