What is Kloudle?
Kloudle is a Digital Assets Security Automation Platform for SREs and DevOps. When integrated with your Cloud or SaaS provider, Kloudle takes periodic security snapshots and provides complete security contextual visibility that allows you to make informed decisions about your infrastructure, the assets and their various configurations.
Kloudle collects metadata about the resources and analyses them to identify misconfigurations and using a massive research powered knowledge base, identifies what would go wrong if these misconfigurations were exploited and what you can do to fix them.
As part of making sure the lives of SREs and DevOps become easier, Kloudle offers the ability to create “rules” that allow a user to take automated actions against a baseline. These automated actions, which we call Security Processes, allow users to configure a series of steps that kick in when custom events occur to ensure the security of the monitored cloud and SaaS platform.
DigitalOcean onboarding for Kloudle
Prerequisites
To onboard a DigitalOcean cloud account to Kloudle, a Personal Access Token with Read scope is required to be generated and supplied during the onboarding process. It is required that the user generating the Personal Access Token has the Owner role within the team.
Steps to onboard DigitalOcean to Kloudle
Generate a Personal Access Token
Following are the steps to create a Personal Access Token on DigitalOcean to onboard an account:
-
Login to the DigitalOcean control panel - https://cloud.digitalocean.com
-
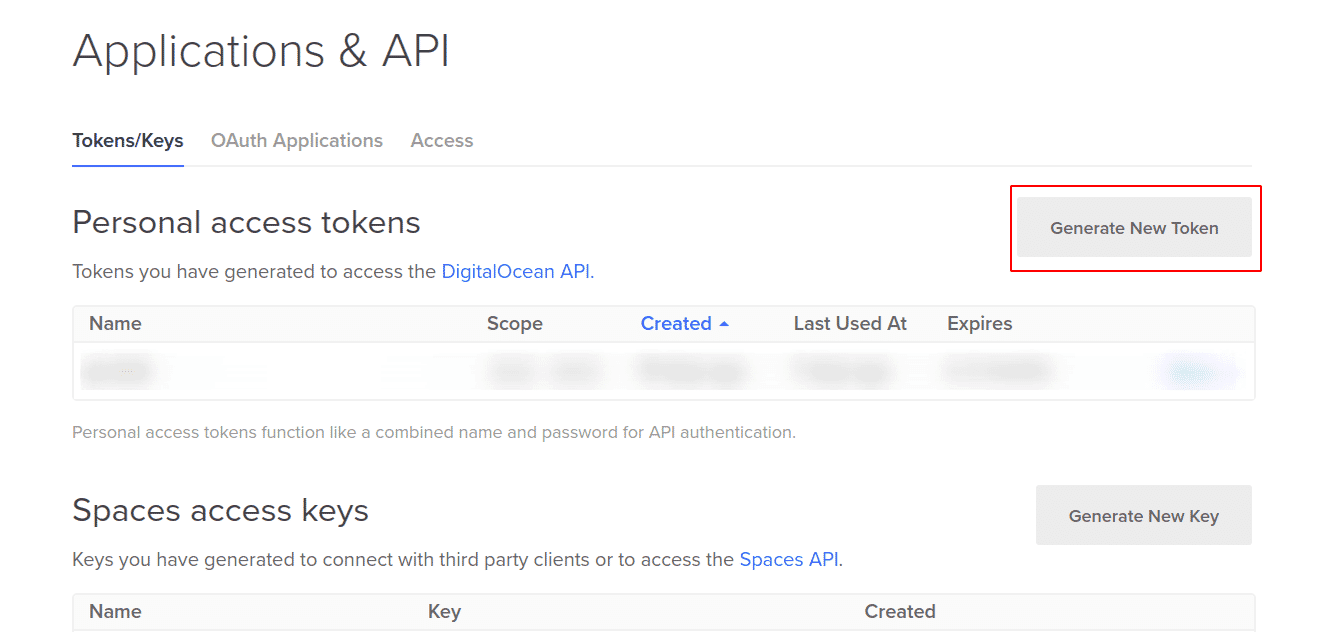
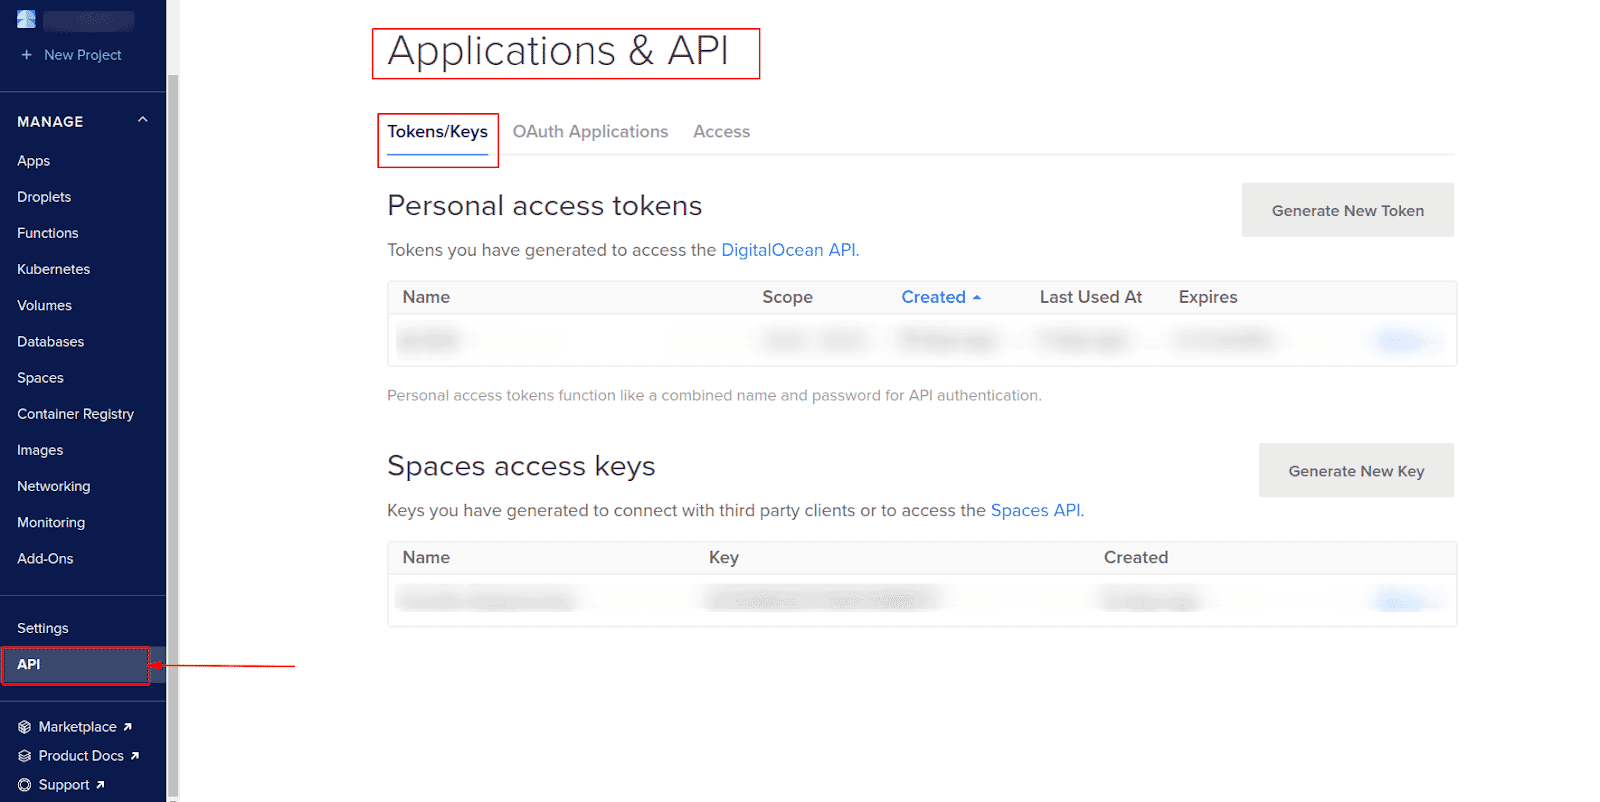
Click the API link in the main navigation, which takes you to the Applications & API page on the Tokens/Keys tab

-
In the Personal access tokens section, click the Generate New Token button
-
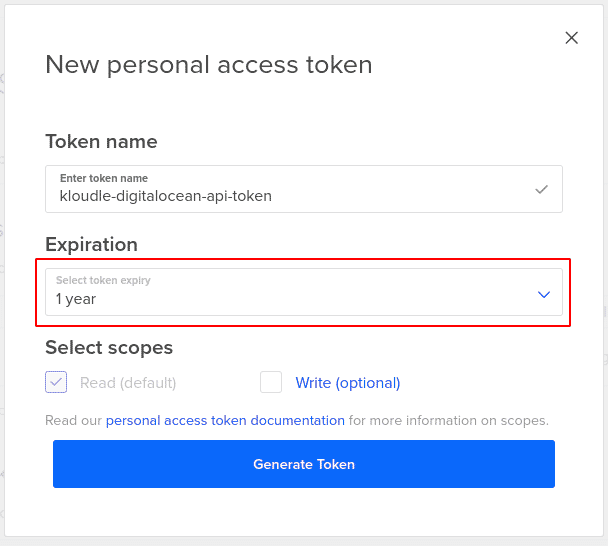
Enter a name for the token - kloudle-digitalocean-api-token

-
Under Expiration section, select token expiry as 1 year
-
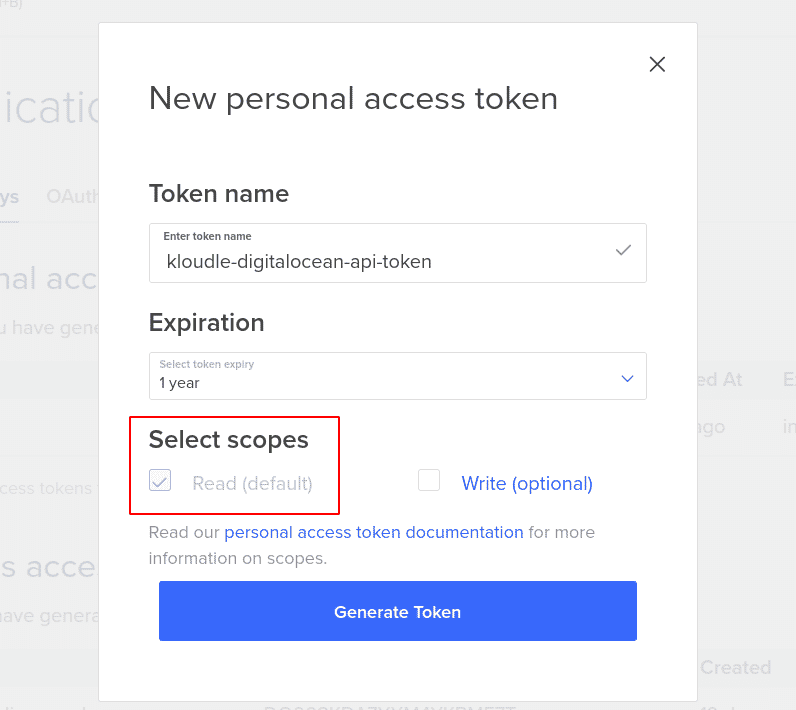
Select the Read scope
-
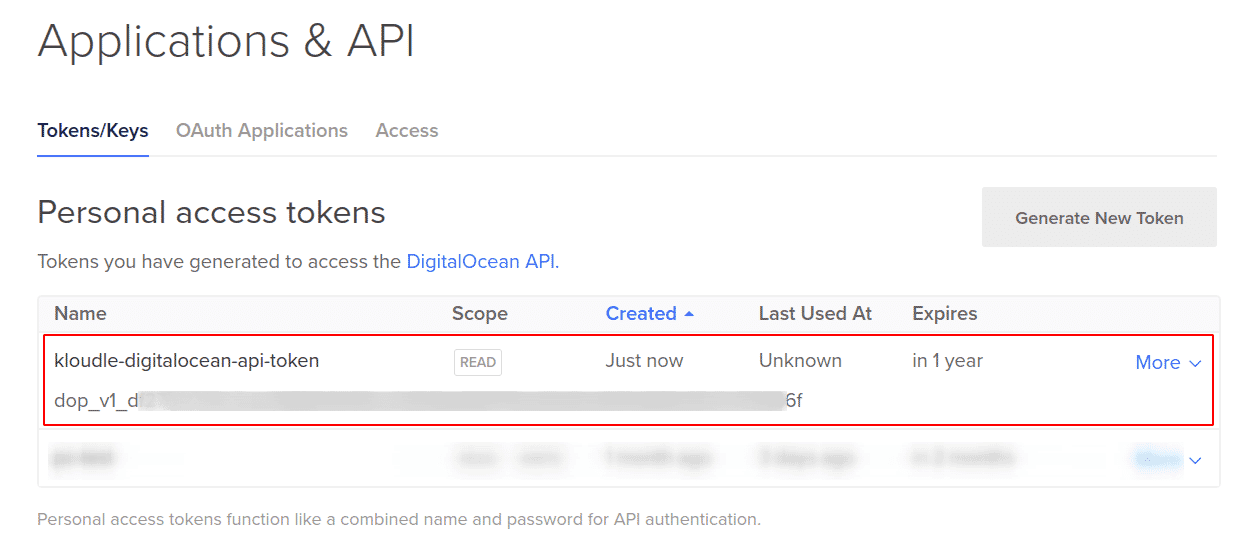
Click on the Generate Token button. The token is shown under the Tokens/Keys prefixed with dop_v1_
-
Copy the Personal Access Token
-
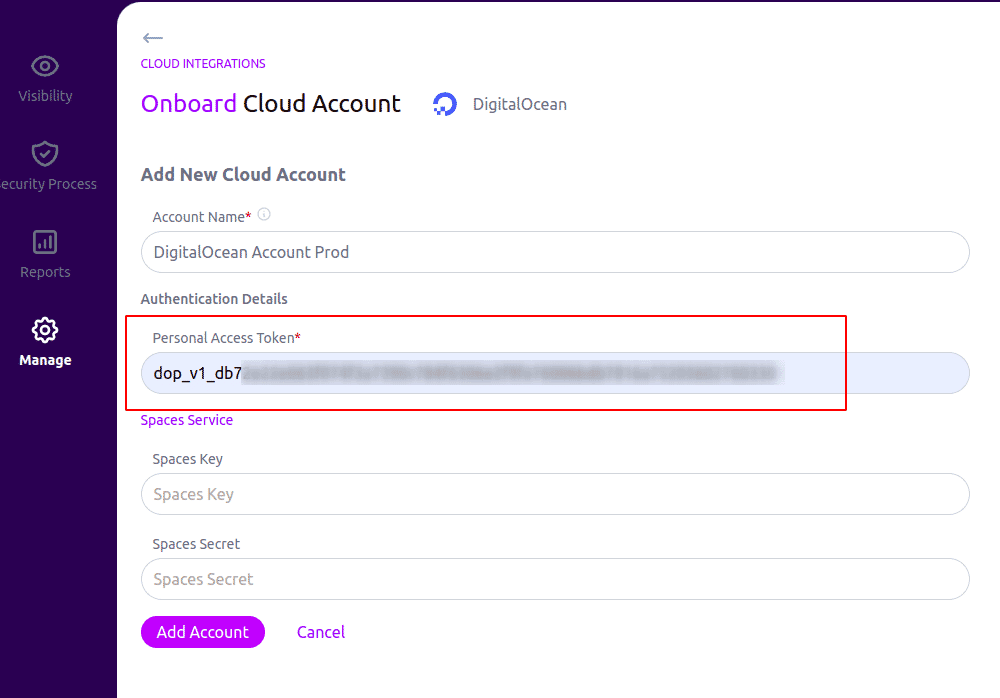
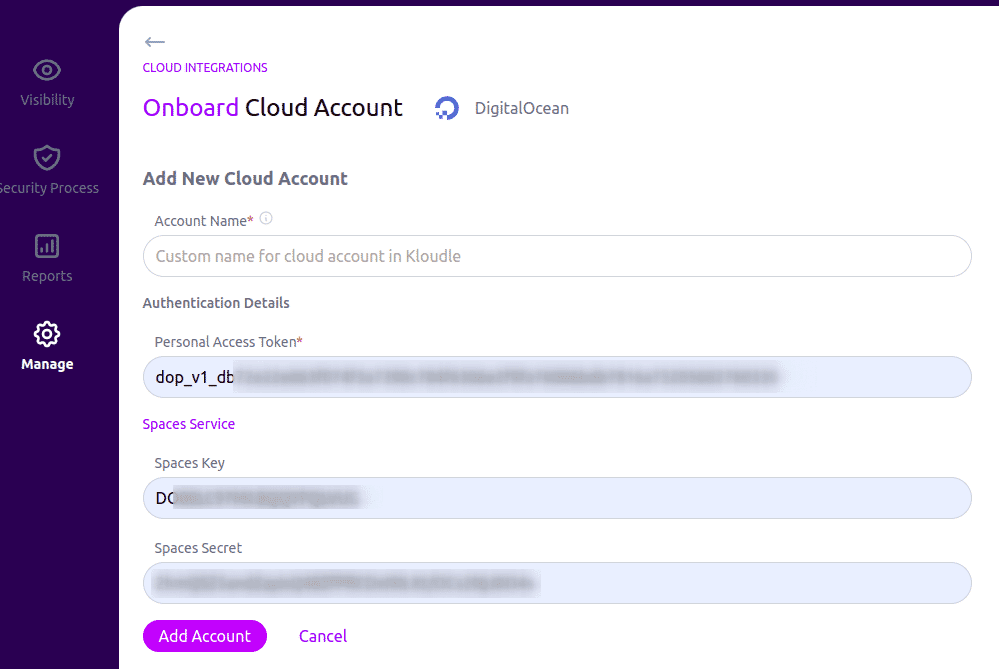
Now in Kloudle dashboard, under “Manage” > “Cloud Integrations” > “DigitalOcean”, supply the token copied above along with the an Account Name for your DigitalOcean account
-
Click the “Add Account” button to complete onboarding. If you are also using the DigitalOcean Spaces service, then skip to the next section to generate a Spaces Key and Spaces Secret to be added to Kloudle.
Generate a Spaces Key and Spaces Secret
If you would like to start using Spaces service on DigitalOcean, then create the Spaces access key as well and provide it to Kloudle. To create a Spaces access key, you can follow the steps below:
-
In the DigitalOcean control panel, navigate to API from the side menu, which takes you to the Applications & API page on the Tokens/Keys tab
-
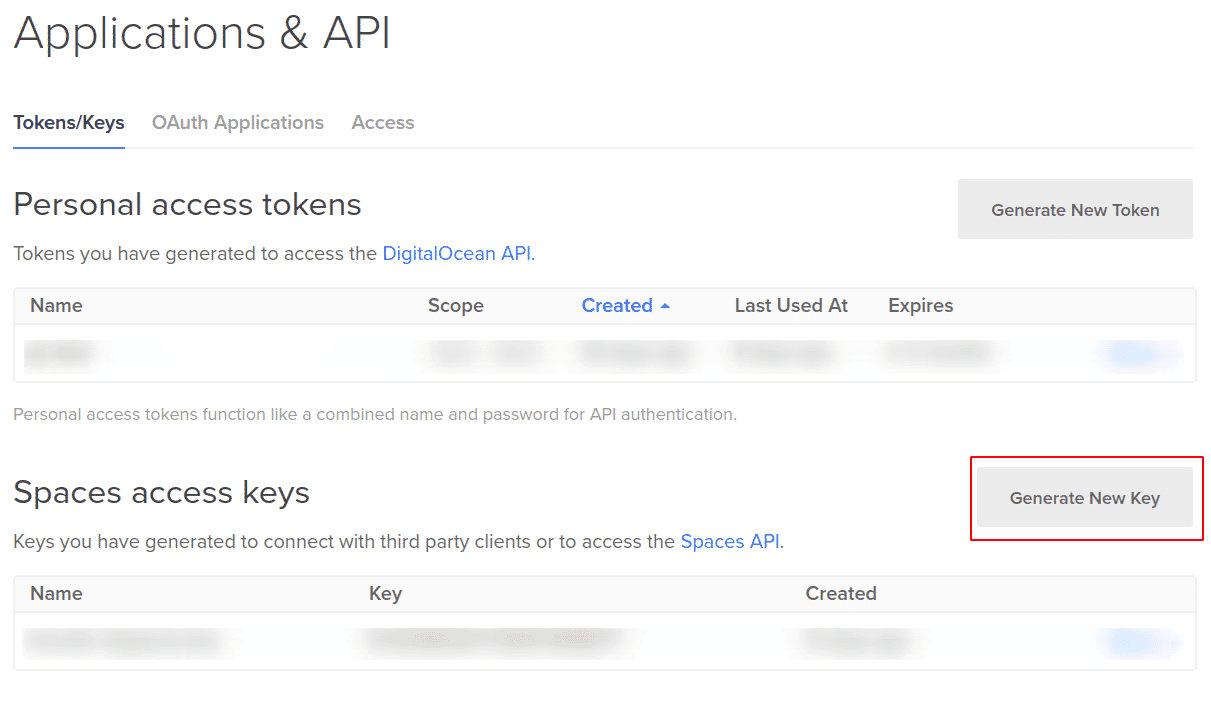
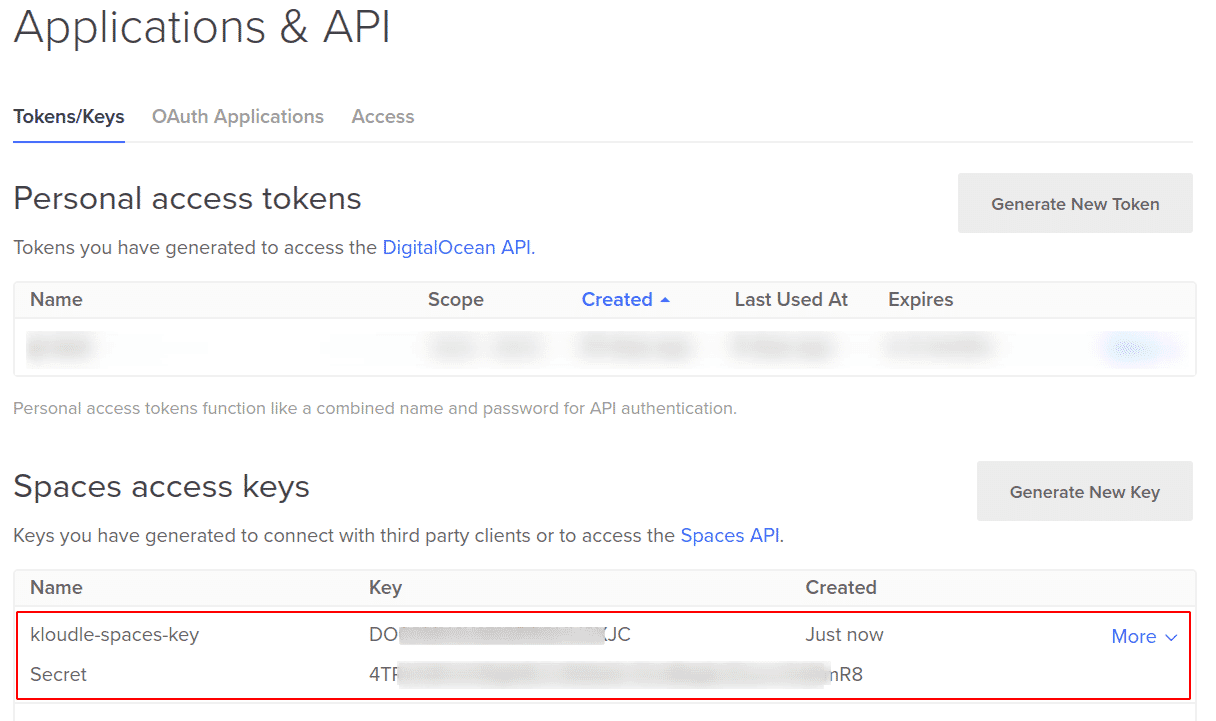
In the Spaces access keys section, click on Generate New Key button
-
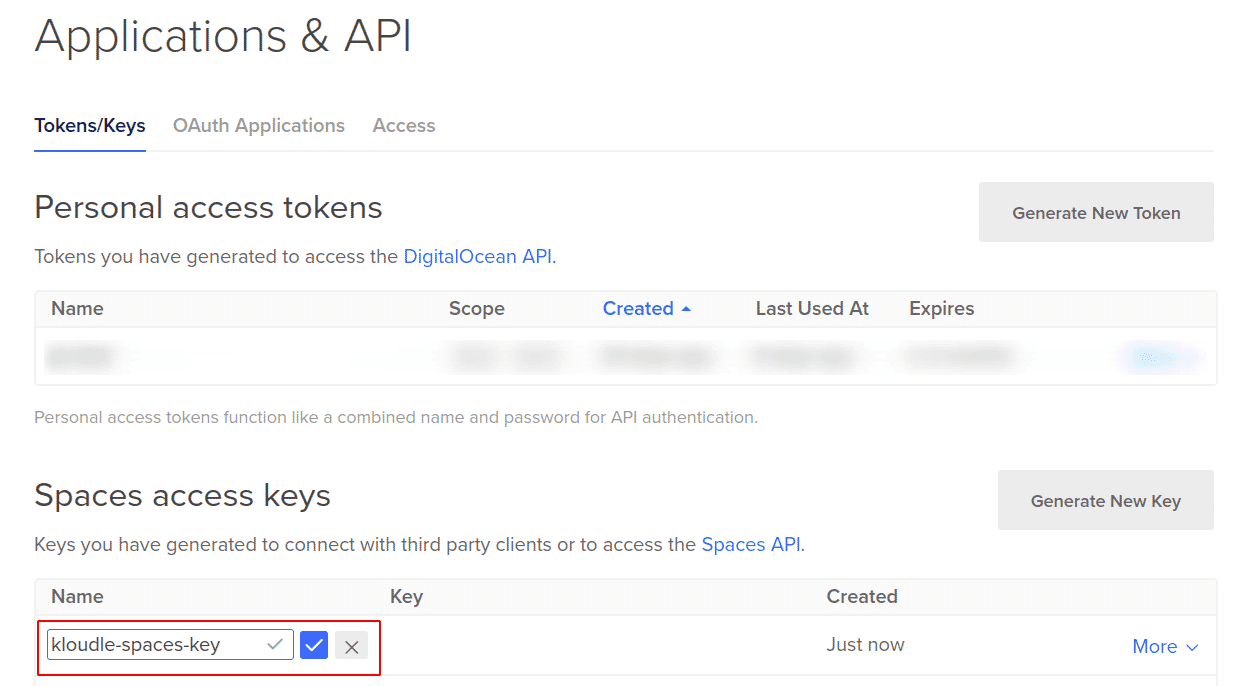
Enter a key name - kloudle-spaces-key
-
Select the Key and the Secret and add them to Kloudle.
-
Click on the “Add Account” button to onboard the account
Video Instructions

Akash Mahajan
Founder & CEO
Akash is the founder of Kloudle, a developer-first cloud security scanner. He’s spent 20+ years in cybersecurity and now builds tools that make securing cloud infra simple, fast, and frustration-free.
Akash Mahajan
Founder & CEO
Akash is the founder of Kloudle, a developer-first cloud security scanner. He’s spent 20+ years in cybersecurity and now builds tools that make securing cloud infra simple, fast, and frustration-free.