Introduction
Elastic Block Storage volumes are the equivalent of hard drives in the physical world. EBS volumes are attached to EC2 instances and store operating system data and instance-specific data as well (code, applications, software, etc.). These volumes are not encrypted by default, but adding encryption to EBS provides you with extra security.
An AWS account would fail security compliance checks especially around data security if the EBS volume is not encrypted. Additionally, any snapshots created from an unencrypted volume are not encrypted. A malicious user with access to the snapshot either through the snapshot being exposed publicly or due to access to the AWS account, would result in compromise of data stored on the snapshot.
In this article we will go through the steps to encrypt AWS EBS Volumes via both console and CLI.
Steps to Encrypt AWS EBS Volume
To encrypt the EBS volume via AWS console, follow the steps below
-
Login to the AWS Management Console and navigate to EC2 dashboard.
-
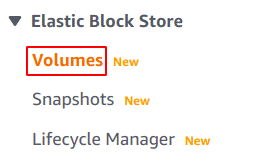
In the navigation panel, under Elastic Block Store, click Volumes.
-
Select the Volume that is non-encrypted and you want to update.
-
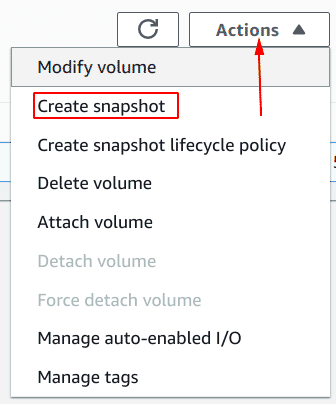
Click the Actions dropdown button from the EBS dashboard top menu and select Create Snapshot
-
In the Create Snapshot dialog box, provide a name and a description for the snapshot and click on Create snapshot button

-
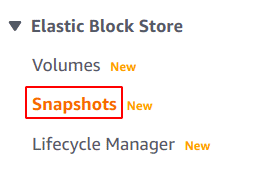
Navigate to Elastic Block Store, and click Snapshots.
-
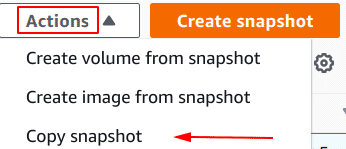
Select your newly created EBS snapshot. Click the Actions dropdown button and select Copy snapshot
-
In the Copy Snapshot dialog box, check the checkbox Encrypt this snapshot and click the Copy snapshot button
-
Select the new (copied) EBS snapshot and click the Actions dropdown button from the EBS dashboard top menu and select Create Volume from snapshot
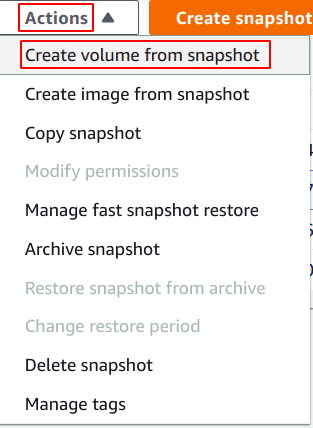
-
In the Create Volume dialog box, make sure the volume Encryption status is Encrypted and click Create Volume
-
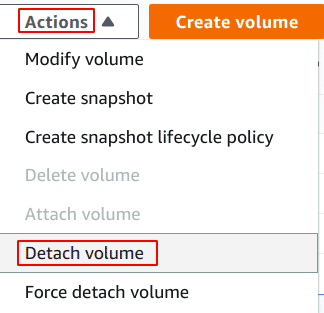
Navigate back to Volume, select the Volume that is not encrypted, then click the Actions dropdown button from the EBS dashboard top menu and select Detach Volume
-
Select the newly encrypted EBS volume. Click the Actions dropdown button from the EBS dashboard top menu and select Attach Volume
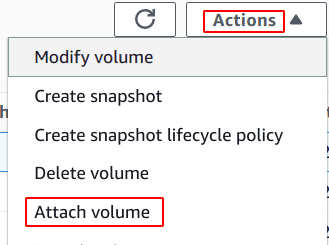
-
In the Attach Volume dialog box enter your EC2 instance ID and the device name for the attachment then click Attach Volume
To encrypt the EBS volume via CLI, follow the steps below:
-
To list the volumes
aws ec2 describe-volumes --region <region> -
Create a new snapshot from your non-encrypted volume
aws ec2 create-snapshot --volume-id <volume id> --region <region>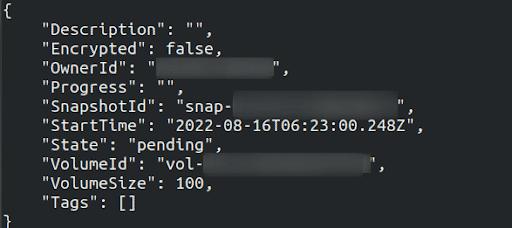
-
Create an encrypted copy of the existent EBS snapshot
aws --region <region> ec2 copy-snapshot --source-region <region> --encrypted --source-snapshot-id <snapshot id>Output of the command

-
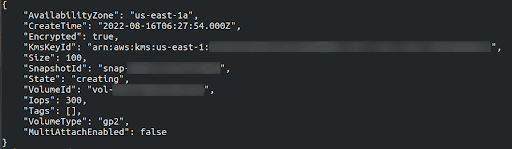
Create a new EBS volume from the encrypted snapshot
aws ec2 create-volume --region <region> --availability-zone <AZ> --snapshot-id <snapshot id> --volume-type <volume type> --encryptedOutput of the command
-
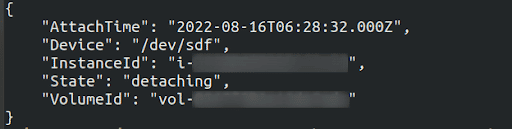
Detach the non-encrypted EBS volume
aws ec2 detach-volume --volume-id <Volume ID> --region <region>Output of the command
-
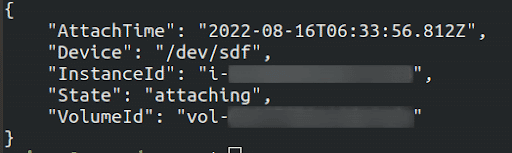
To attach the new encrypted EBS volume to your EC2 instance run attach-volume
aws ec2 attach-volume --volume-id <volume id> --instance-id <instance id> --device /dev/sdf --region <region>Output of the command
You can also learn how to Create,attach and detach EBS volumes from this Academy article.